Have you wanted to digitize your photos but couldn’t figure out how to begin? That was me. Like many moms, I took tons of pictures of my kids. I always ordered double prints so we could send them to grandparents and other relatives.
I also ordered prints every time a sports team or school photographer took pictures. Bottom line: by the time I started taking digital photos, I’d already amassed more than 10 years of negatives and prints of my family. By the time my kids graduated from high school, I had 10,000 paper photos. It was overwhelming. As the kids were growing up, I’d thought I would have time to make albums after they left home. Now the task seemed too daunting to start.
But my family gave me a wonderful Christmas present: they bought me a “value pack” from ScanCafe. ScanCafe is an online service that helps you digitize your photos. There are lots of benefits to digitizing your photos with a service like this one. I’ll tell you about my experience. It was easy and gave me a great way to share family memories with my grown children and other loved ones. Along the way I’ll offer tips to help you as you digitize your photos.
A closet full of photos
I couldn’t measure up to the moms who made albums and framed collages with family photos. While raising my kids, I attended several friends’ Creative Memories parties. Mainly to have a night out with other moms. As far as I was concerned, elaborate scrapbooks were a 1990’s vehicle for making you feel like a slug – the way Pinterest does today. I knew I wouldn’t use cute stencils or cutouts to decorate my photos. I couldn’t even seem to put together a simple album.
I got freaked out by people’s advice to use only archival paper, pens and storage boxes. You weren’t supposed to buy those peel-and-stick pages anymore. You didn’t want to ruin your photos by putting them into inferior albums. I knew, however, that I wouldn’t commit the time required to display my snapshots ”properly.” Confused and busy with other activities, I opted not to do anything.
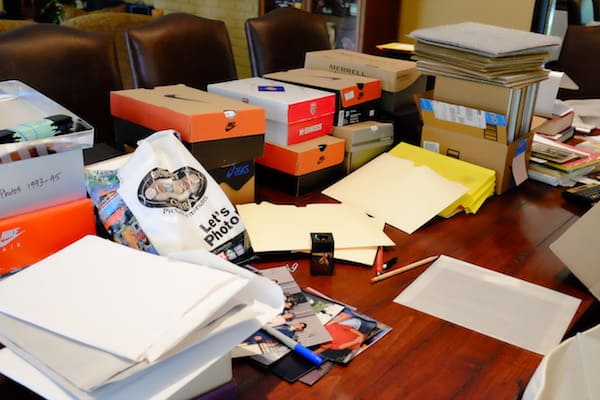
Well, except to label the photo envelopes I brought home from the store and then put them into shoeboxes. Not archive photo boxes, just plain shoeboxes. I couldn’t justify buying photo boxes when shoeboxes were so available at our house. (Young children outgrow their shoes constantly, you know.)
Even after most photos became digital, I continued to place orders for school and team sports pictures. In time my shoeboxes and piles of other photos took up half a hall closet.
Why digitize your photos?
I ended up with over twenty years of photos, dating back to my college days. Plus pictures my mom had sent me from my childhood, plus all my husband’s photos from before we were married. There were even some slides we cleaned out of his folks’ house. I thought that digitizing everything was my best hope for organizing all those years of pictures.
The benefits of digitizing your photos include:
- Reduce storage space. I can now throw out a closet full of originals. I’ve hesitated to do it because something seemed wrong about tossing family photos. But after I organize the scans, I’ll be purging that closet. Talk about house cleaning!
- Organize your memories. This is a work in progress for me. But it will be great to have keywords and labels by year, child, type of event and so on. It will be easier to find old pictures, and producing digital photo albums should become a breeze.
- Preserve fading prints and slides. Paper prints and negatives degrade over time, even if they’re stored in photo-safe boxes at proper temperatures. Digital scans last far longer. You can even enhance your scans to look better than the originals look today.
- Improve access. All my kids can have access to the family photo archives. Plus, we can make multiple albums using the same pictures, without having to order more prints from negatives. In fact, I can design a digital album once and then order as many copies as I want.
- Make backups. It’s easy to copy digital photos to an external hard drive, USB drive or cloud storage service. Hopefully you’ll never face a natural disaster or home robbery – but if you do, your photos will be safe in the cloud.
Options to digitize your photos
Scan them yourself
For one-off scans, you can use an all-in-one printer – the type that lots of home users have. It allows you to print, copy, scan and fax. But if you’re scanning large numbers of photos, purchase a quality flatbed scanner. You can buy one like the Epson V600 for about $200.
Note, however, that scanning photos yourself is time-consuming. You might be able to hire a neighborhood kid to do it, but if you want to scan a lot of images, it will take a lot of hours.
Send them to a scanning service
If you have hundreds or thousands of photos to digitize, you’ll want to send them out. People who worry about sending their photos far away might choose to work with a local service. This will end up costing more (typically 50¢ to $1.00 per scan), but for one-of-a-kind photos, you might find the extra cost worth it.
The cheapest option I found was ScanCafe’s “value pack” service. You pay an average price of 29¢ per scan if sending 500 images, and as little as 21¢ per scan for up to 10,000 scans of negatives, prints or slides. There are a couple of catches, however:
- You can’t be in a hurry. They ship your photos to India. It takes 2-3 months from the time you send them until when you get them back.
- You have to feel ok about sending your photos far away. I’ll address this concern below.
If you don’t have more than 500 photos to scan, ScanCafe’s “à la carte” pricing is still reasonable: 33¢ per scan. Plus they allow you to view your scans online and pay only for those you want to keep.
ScanCafe also has a “USA Express” option, which is more expensive but faster. I’ve used this option for a small number of family photos where I needed scans quickly or worried that I might be sending away my only copy. This option guarantees a 10-day turnaround, but it costs an extra 12¢ per scan.
Taking into account all these options, I chose to send most of my photos to India with the ScanCafe value pack. And I was delighted with the process and results. I’ll give you specifics so you can decide what works for you.
Costs vs. benefits of digitizing photos
I did a quick estimate of the photos I would be sending to India, and it totaled nearly 10,000 negatives, prints and/or slides. While I could have purchased fewer scans by sorting through my pictures to send only the best ones, I decided this would take too long. For me, it was easier to hand over an entire roll of negatives than to go through the prints and select which ones I wanted to scan.
The value pack for 10,000 scans costs $2100. This is a lot of money. But the way I see it, this is what I paid to digitize more than 20 years’ worth of photos. In other words, it cost me less than $100 per year. Less than $100/year to preserve memories from my kids’ childhoods as well as to build a sense of our family’s legacy. From this perspective, the price was totally worth it.
Are you kidding? Send my photos to India on a container ship?
I’ll admit that I felt kind of worried about boxing up twenty years of photos to put on a boat to India. What if they got damaged or lost? What if the ship sank? What if pirates took command and tossed my memories overboard?
I called ScanCafe’s customer service phone number and talked to someone who sounded as though he was US-based. The customer service representative assured me that in 12 years and over 148 million images scanned, ScanCafe hasn’t lost a box yet. So while they don’t guarantee your pictures won’t be lost, the probability of success is high.
I looked at what I was planning to send and realized that, even if I shipped out all my negatives, I still would keep the prints at home. And of course I had extra photos for every team my kids had ever played on: baseball, soccer, volleyball, basketball, you name it.
To be honest, I didn’t really care about the prints and slides my husband had saved after his parents died. Lots of them were of people I didn’t know anyway. And he had put them in boxes long ago without ever reviewing them himself. So I figured he didn’t care much about them either. Hence, I decided to ship them and not worry about it.
I saved a small number of older family photos that were one-of-a-kind prints, or that I felt were too precious to send overseas. I watched my email for a ScanCafe promotion and sent about 100 photos to the company’s US facility. It cost me a sale price of 37¢/scan plus $27.00 for shipping both ways. But I thought the extra price was a fair tradeoff for more peace of mind.
ScanCafe’s value pack makes it easy to digitize your photos
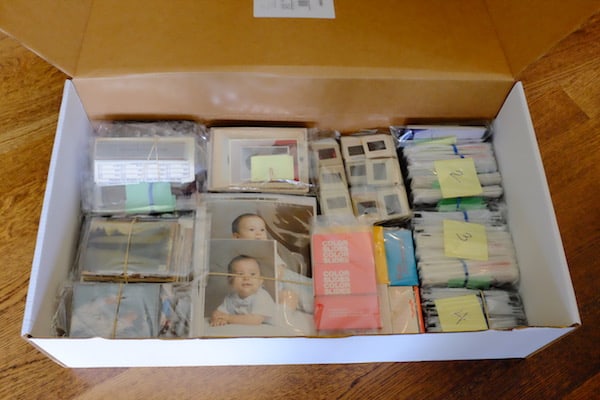
A few days after I ordered the value pack on ScanCafe’s website, a large, sturdy box arrived on my doorstep. It contained glassine envelopes and rubber bands to help me group my photos. I mixed negatives (which I left in their plastic sleeves from the photo store), slides and prints up to 8×10 in size.
My value pack included 10,000 scans, but I didn’t need to keep an exact count. If I went over, the company would charge me at a per-scan rate.
It took me a month to go through our photos and pack them up. I started out trying to select only the best images. But later I decided it was more efficient for me to send everything. I’d worry about deleting bad images later.
Group photos in the order you want them scanned
The company scans photos roughly in the order you send them. So it’s good if you can group items in a way that makes sense to you. I’d stored my pictures in approximate chronological order. So all I had to do was to pull out their negatives and bundle them in several packs.
When I received the scans back, I saw that if I’d labeled a bundle, the people who scanned it applied that same label to the digital folder containing the scans. Knowing this now, I wish I’d labeled more of the bundles and envelopes.
Packing the negatives was the easy part. After finishing that step, I combed through lots of miscellaneous photos. I imagine that some of them were duplicates of negatives I’d already packed. But to save time, I included the pictures I liked. I figured it would be better to end up with two scans of an image rather than zero.
Finally, I grouped school and activity photos by child and approximate year. I looked through old photos from my and my husband’s families, and I packed up the interesting ones.
How to deal with albums
My mother-in-law had left a few albums with the photos stuck to the pages. I found a removal tip on the internet, though: you can scrape photos off old album pages by sliding dental floss under them.
By the time I made it to my husband’s slides, I’d had it with looking through pictures. My hands were covered in tiny cuts from dragging floss over album pages, and I didn’t have a projector or light box to help me review slide media. So I just put the slides in ziploc bags and tossed them into the ScanCafe box.
Shipping logistics
After you seal up the box, you insert it in a heavy plastic bag they provide and stick a pre-paid label on the front. You drop it off at a UPS store, and it goes to ScanCafe’s Indianapolis facility. From there they collect other customers’ photo boxes and ship them all together to India.
ScanCafe sends you email confirmations at every step along the way. If you give them your cell number, they’ll even text you. I received updates when my order arrived in Indianapolis, was shipped, scanned and so on. This extra communication increased my comfort with the process. Even though it took a long time, I was able to track my box through their system.
If they have questions about your order, they email you. For example, I had included some APS negatives in my box without realizing this media type wasn’t included in the value pack. They emailed to say these were non-standard sizes, and they gave me an estimate for the extra cost to scan them. I couldn’t even recall what the pictures were of. I thought they probably came from a disposable camera. So I replied that ScanCafe could return the originals to me and not scan them.
One big box, one small flash drive
My pictures came back to me about two and a half months after they left. I received a big box with all my originals – it was a different box than the one I shipped the photos in. In the top of the box was 64GB USB drive. The photos, in fact, took up only 39GB of space. That’s it.
You don’t even have to wait for the flash drive to come in the mail. ScanCafe puts your scans on its website. You log in, review and download images. They’ve also set up partnerships that allow you to store your images in Amazon Cloud Drive, Google Drive and Dropbox directly from their website.
Optional extra image enhancement
ScanCafe offers additional services like video scanning and photo restoration. They may flag a few of your images with suggestions for additional image enhancement.
For example, their USA Express service suggested extra work for several of my old family photos that were visibly discolored. I reviewed ScanCafe’s suggestions and chose six photos I wanted to improve. They got back to me with an estimate of $45. Their technicians are trained in Adobe Photoshop and Corel Draw. I was glad to pay them to make my photos look as good as possible.
Additional image delivery and storage options
For smaller orders, ScanCafe sends you a CD or DVD with your images instead of a USB drive. For $59 more, they’ll send your images back on a USB drive instead. This might be useful if your computer doesn’t have a CD drive. However, you also can download images from your account on their website. Choose whatever option works best for you to digitize your photos.
After you digitize your photos, then what?
My goal is to organize my scans along with all the pictures I’ve taken since I switched over to digital photos. I’ve been using iPhotos or Apple Photos, but I’ve found these programs unwieldy for organizing large numbers of images. In fact, I have several different photo libraries stored on various external drives. When the Photos app slows down too much for me, I back up my photo library and start a new one.
In summary, I need to organize all my images! I’m probably in this situation because I’m not a photographer – I’m not even a hobbyist with a good workflow. I just enjoy taking pictures of my family, special events and vacations. I’m currently looking at several alternatives to catalog my images. After I choose one, I’ll do another post that explains how I’m organizing them.
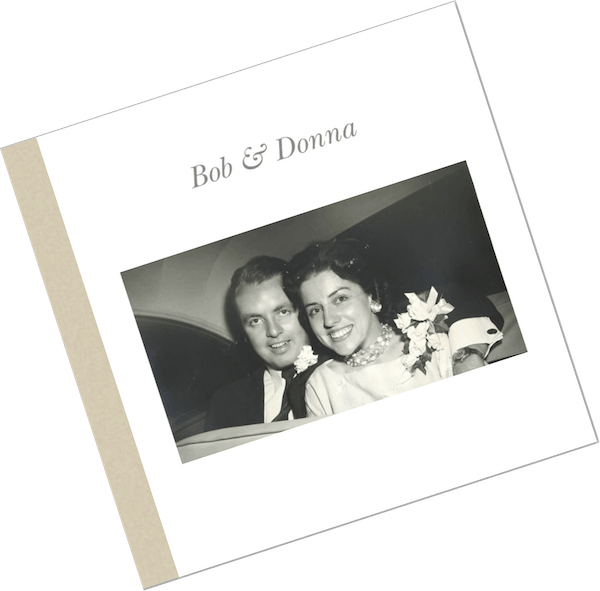
In the meantime, I pulled about 50 photos from my scans and used Shutterfly to make a simple photo book for my mom. This one has photos of her and my dad. I took it to her on a recent visit, and she loved it. I think she’ll enjoy looking at the pictures, reminiscing and telling people about the stories behind them.
Digitize your photos, build your family legacy
Not only do I enjoy looking at family photos and remembering past events. I also want to share these memories with my children. Digitizing your photos makes it easier to catalog your family’s history.
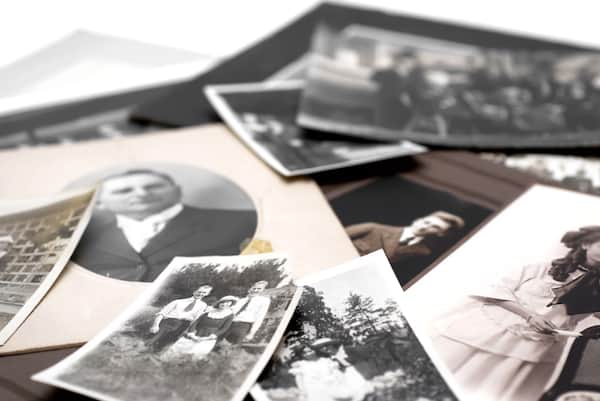
I was thrilled when my sister found a box of old family photos in our parents’ basement. Most of the pictures are of her and me, but there are others of people I don’t know, or older relatives who’ve already died. Even if I don’t recognize all the people, I love knowing that these people and places mattered enough to my folks to record them on film.
Rather than pass along a closet full of dusty, fading photos to my children, I’d like to make it easy for them to recall family events. I also want to give them a sense of their family history.
The first step is to digitize your photos. Services like ScanCafe make this easy. Getting all your photos in the same format helps you pass on family history to your kids. You can preserve their baby photos and pictures of their major life events for the children and grandchildren they might have one day.
Do it for yourself, do it for your family. The investment in scanning old photos is a gift for you and future generations.
Images via: Shutterstock, AHR